How to Create an Availability Set on New Azure Portal
Azure services are changing very rapidly to meet the growing needs of IaaS (infrastructure as a service) and SaaS (software as a service). Availability sets are very common and easy to setup in Azure Classic portal. you just need to create a virtual machine and while creating add an availability set with it. after successful creation of the virtual machine and availability set, create another virtual machine and add this virtual machine to already created availability set. it will become part of that availability set and create a combined URL for these two virtual machines. an automatic load balance will also be created for these two machines to meet the high availability requirements. Now in new portal, things have changed a lot and you need to use the resource manager to configure everything for your Azure environment. in this type of configuration, first you will create a resource group and then create a virtual machine, while creating the first virtual machine an availability set will also be created. after that using the same resource group create another virtual machine and add it to the existing availability set. the steps are given as under:
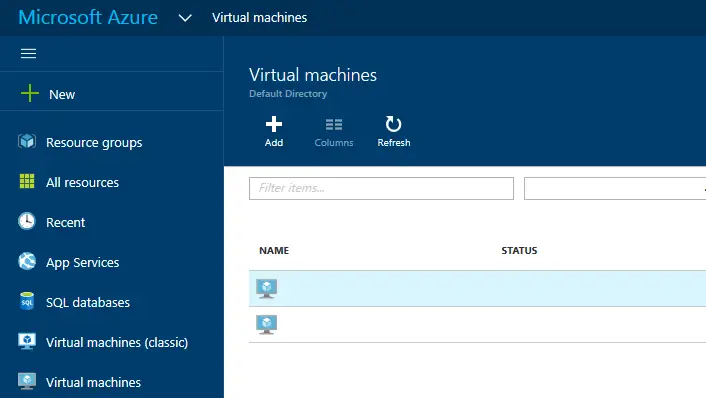
- Go to your azure portal
- Go to Virtual machines
- Press the ADD button
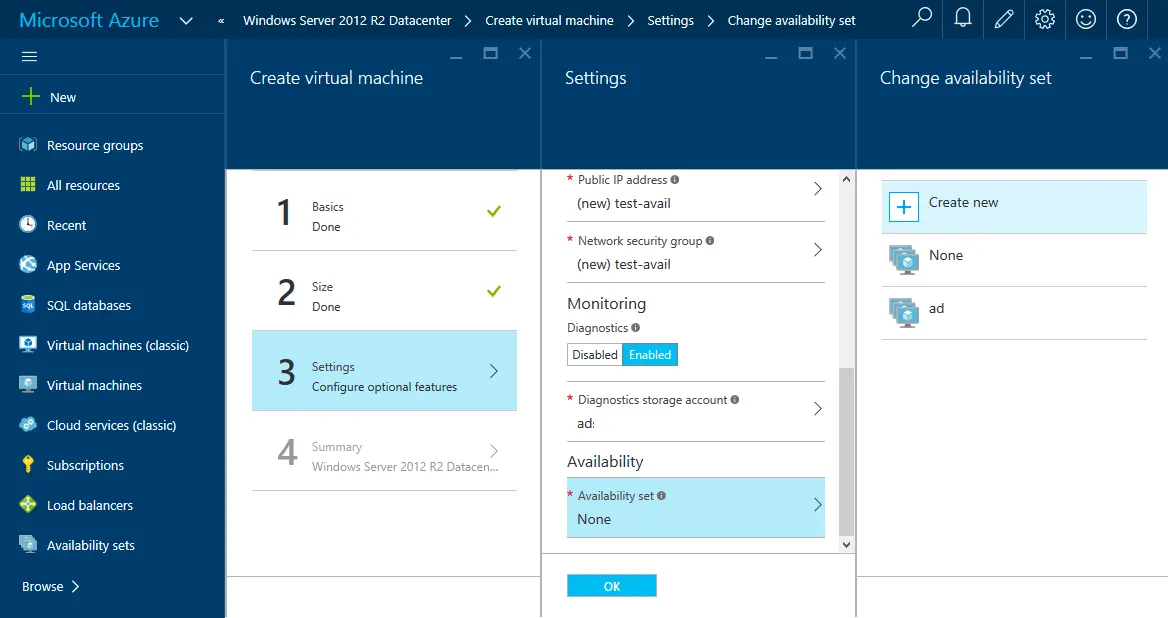
While Adding the new virtual machine create a new availability set for the first machine and then while creating the second virtual machine in that same resource group choose the already created availability set from the list.
 Now you are done with creating the availability set for these two virtual machines. the real challenge starts here, where is a combined URL for these two virtual machines so that in case one goes down, the other machine take place of that to avoid downtime of your application. for this purpose you need to create a load balancer. please follow the under given instructions.
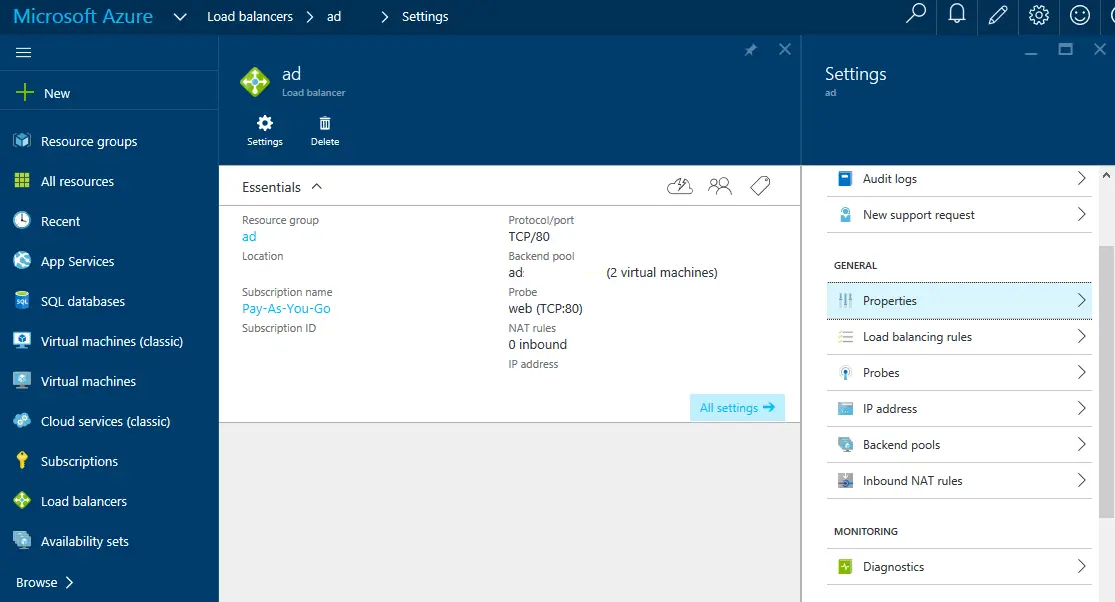
- Go to load balancer and press add button from the left menu on your new azure portal
- Create an external load balancer and follow the on screen options.
- select the resource group and then select the virtual machines from the availability set to create a load balancer.
- add the both virtual machines to the backend pool so that they can be accessed by this load balancer.
- Add a public IP address to this load balancer so that you can access it.
These are the high level instructions to create an availability set and load balancer on new Azure portal. there are many things which will come across while performing this task.
“make sure you read the unavailable documentation from Microsoft” – LOL!!!!!
Please contact me in case you need more detailed information.