How to install and configure a highly available and secure DHCP Windows server 2022
This article provides information about how to install and configure a highly available and secure DHCP server on Windows 2022 server.
DHCP (Dynamic Host Configuration Protocol) provides each device available on a network with a unique IP address to communicate with the network. It has a range of IP addresses from which it provides different IP’s to each device or computer.
Contents
Install DHCP
Following are the steps provided to install a DHCP server.
- Open the server manager dashboard
- Open Add roles and features
- Select installation type
- Select destination server
- Select server roles
- Select features
- Confirm installation selections
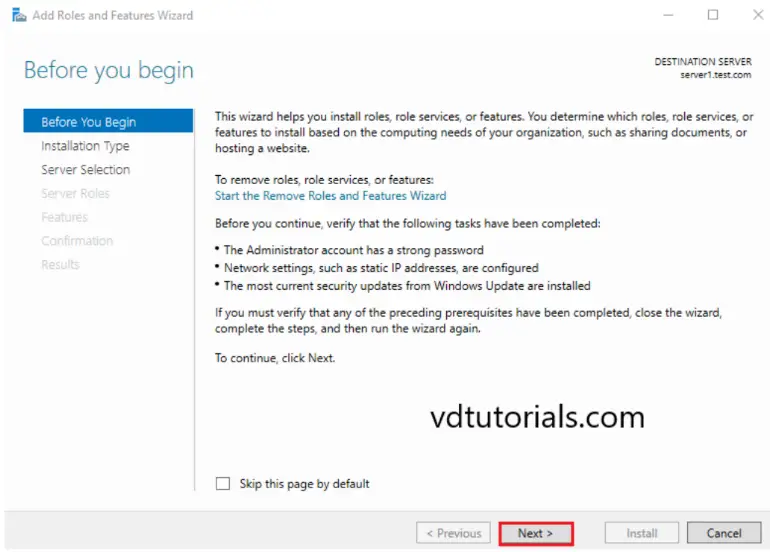
On the server manager dashboard click on “Add Roles and Features”.

This will take you to the before you begin page click on “Next” at the bottom.
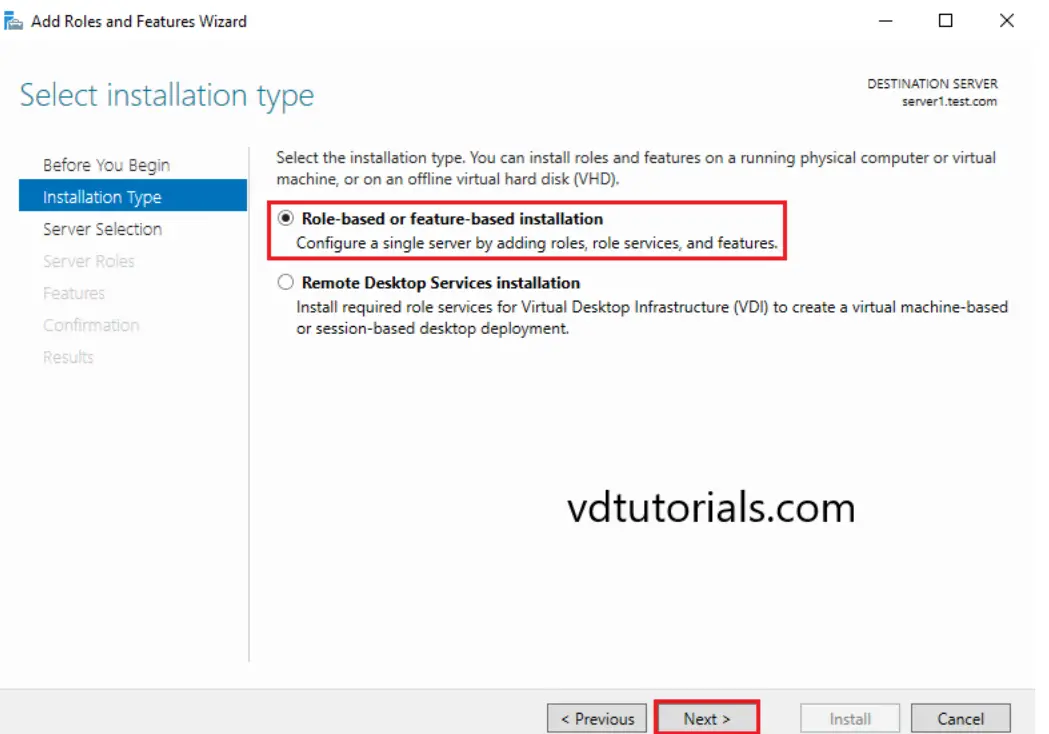
Now you have to select the installation type which in most cases is “Role-based or feature-based installation”. After selecting the desired options click on next.
Now in the server selection section opt for the host on which you would like to add all the services and click next.

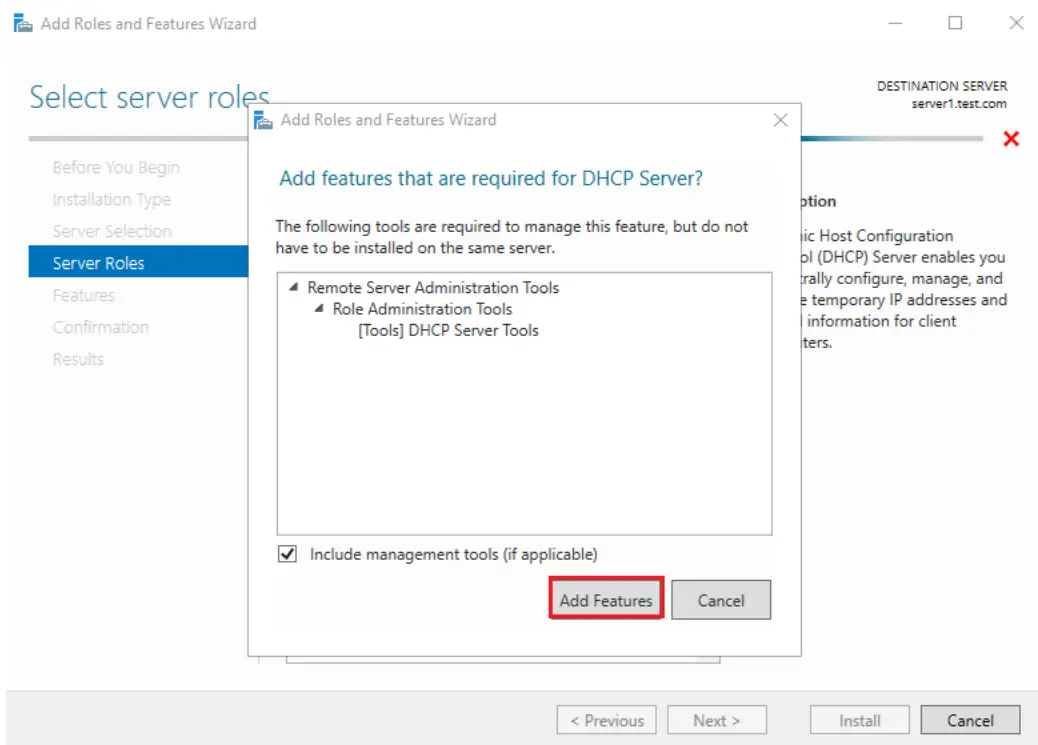
In Server roles, select the “DHCP Server”.

As you select the DHCP server option a new window pop’s up. Here click on “Add features”. Then click “next” to continue.
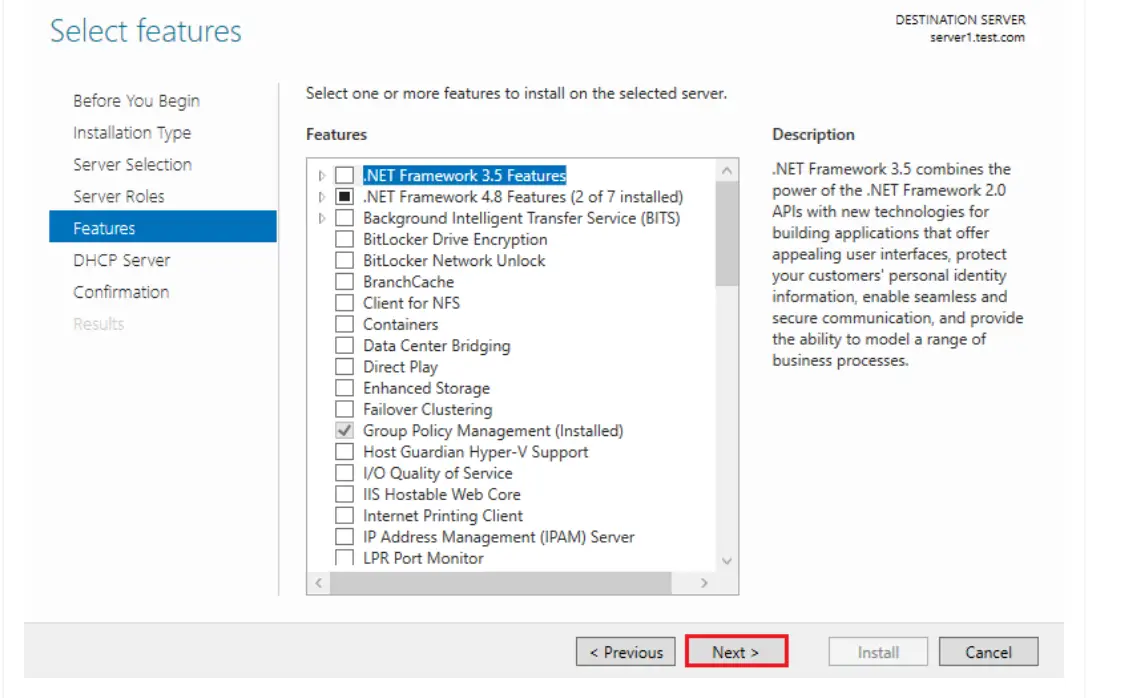
On the Select features windows just click next as currently, we do not require any extra feature. If somehow we needed something in the future, we can always add features as per our choice.
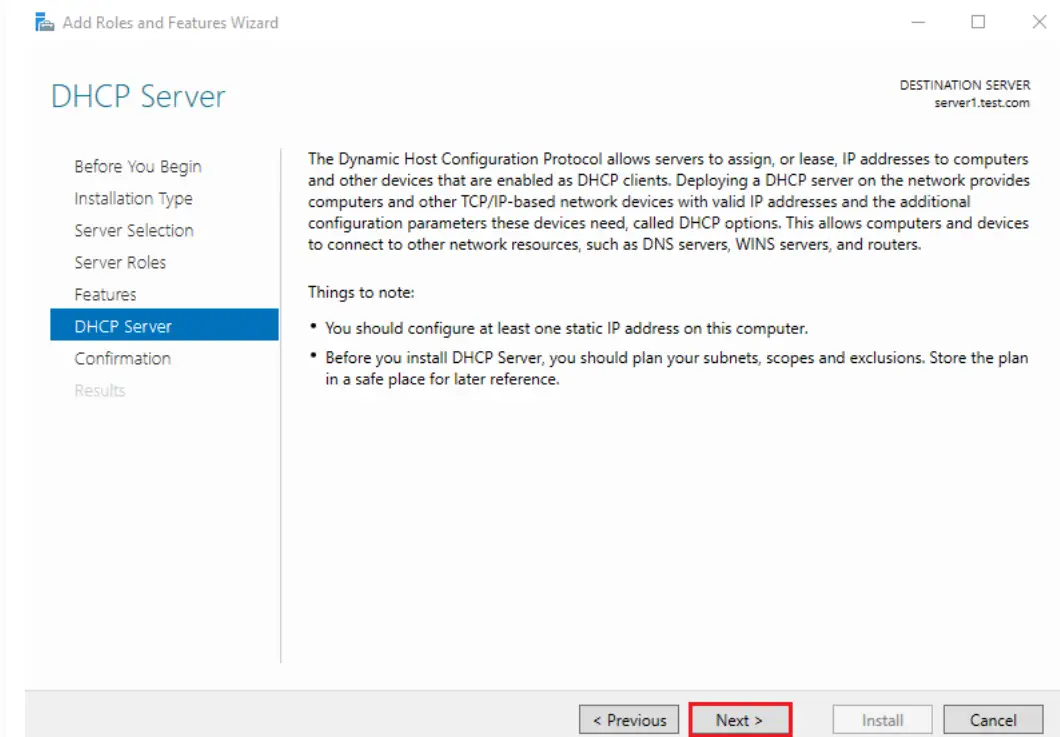
After this DHCP server window will appear on which information is given that you can read. Click on next.
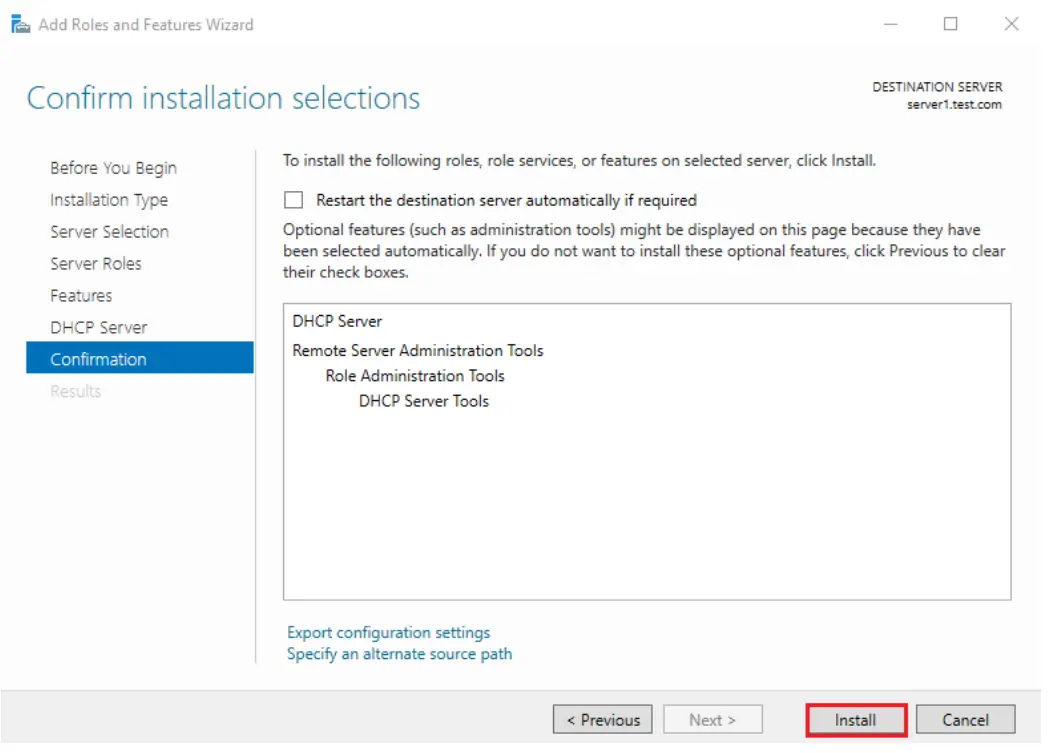
After this confirmation installation console appears. Simply press install on the right bottom of the console.
Configuring DHCP
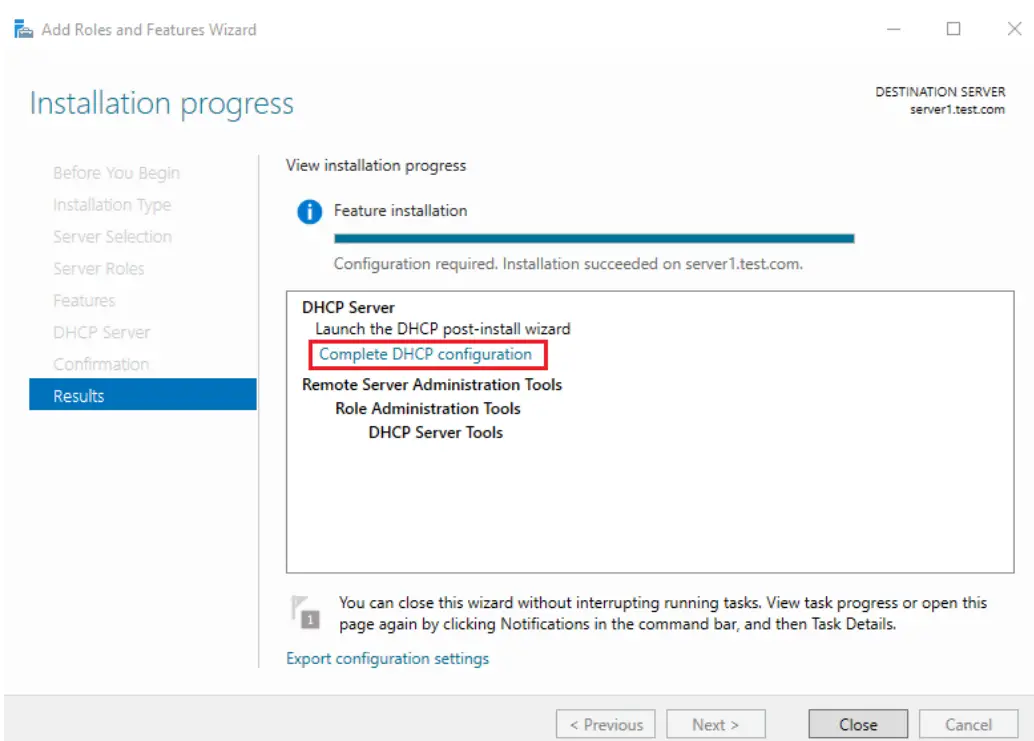
Now after installing the DHCP, the next step is to configure it. After all the features are installed in the result console press “complete DHCP configuration”.
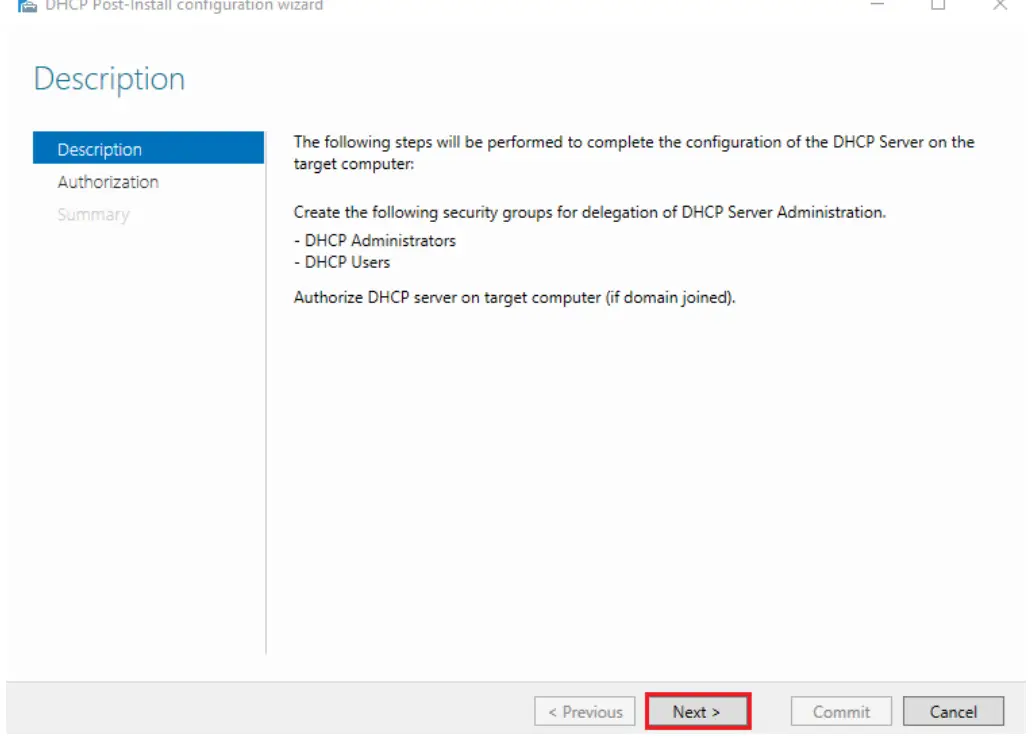
A description window appears simply click next.
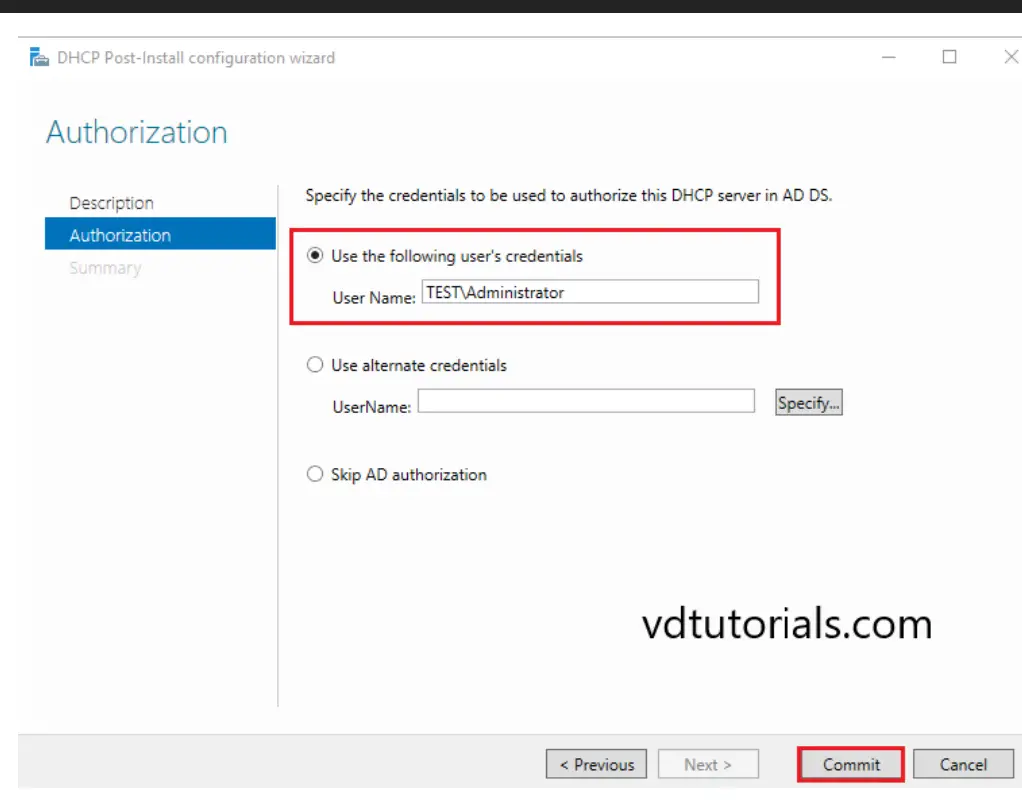
Now an authorization window appears. Opt for the first option which is user credential and add a username. Then press commit.
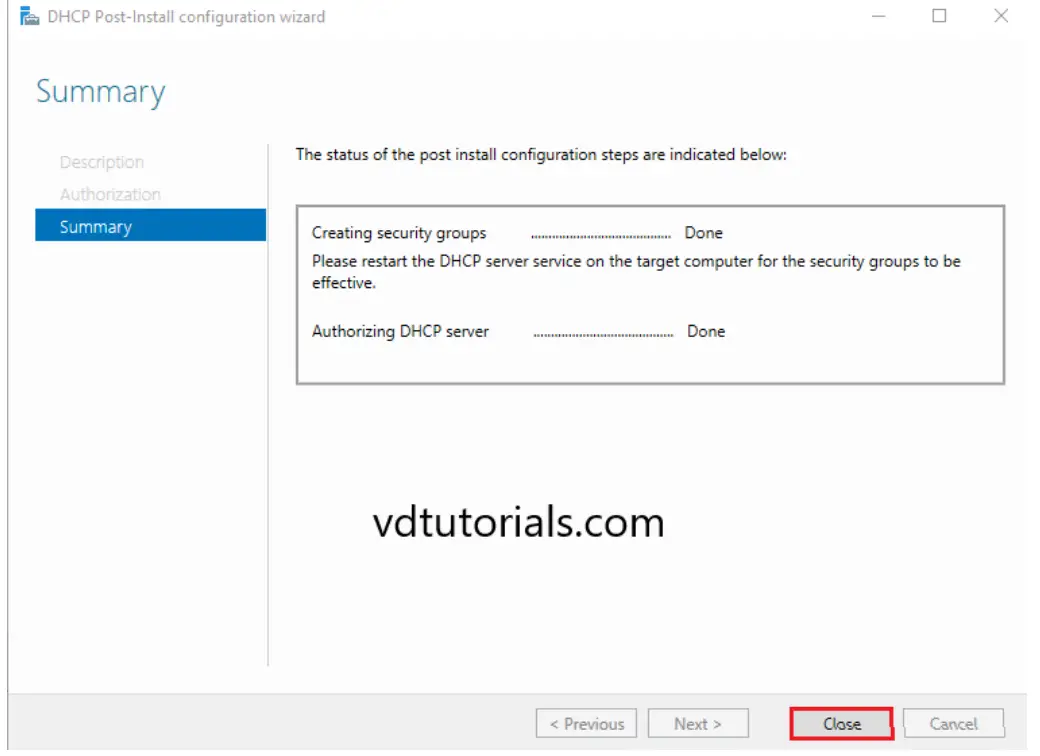
In summary, simply click close.
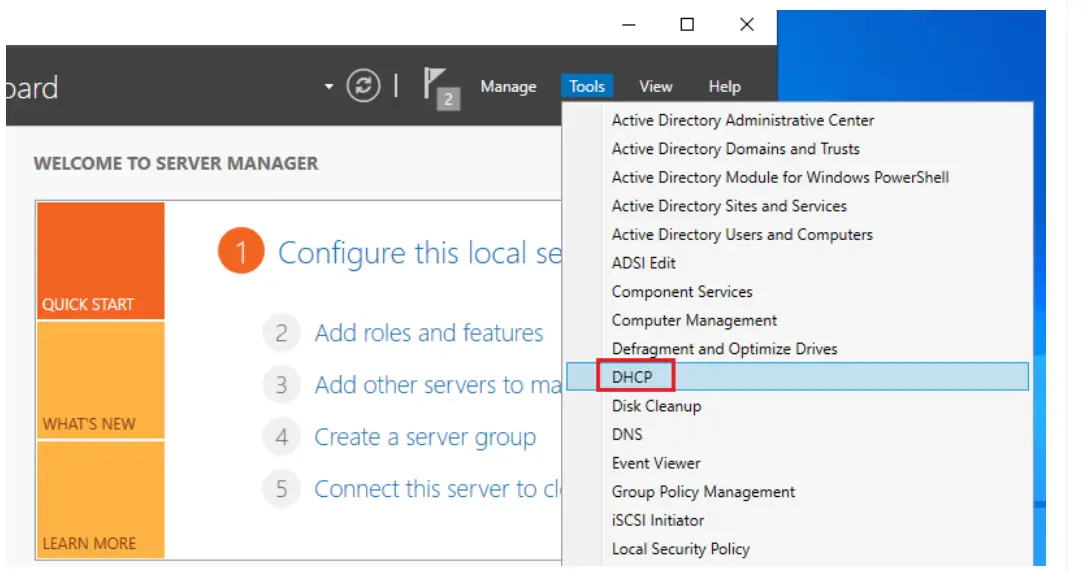
Now open the server manager dashboard open tools and select the DHCP option.
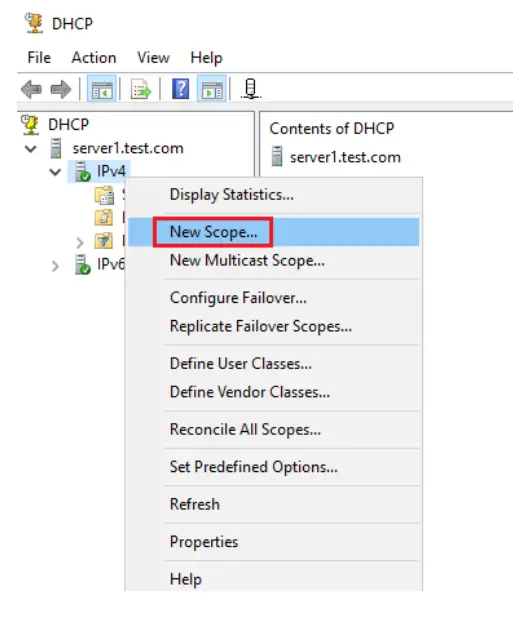
Right-click on IPv4 present on the right side and click on the new scope.
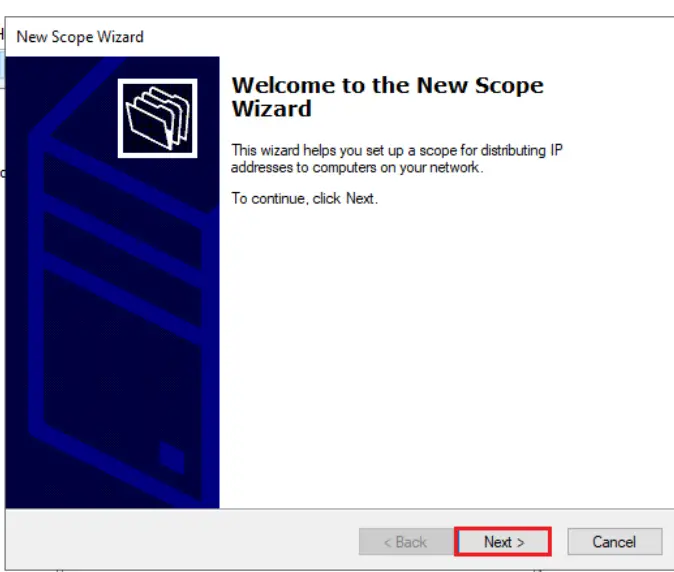
A new scope wizard window appears. Click next to create a new scope.
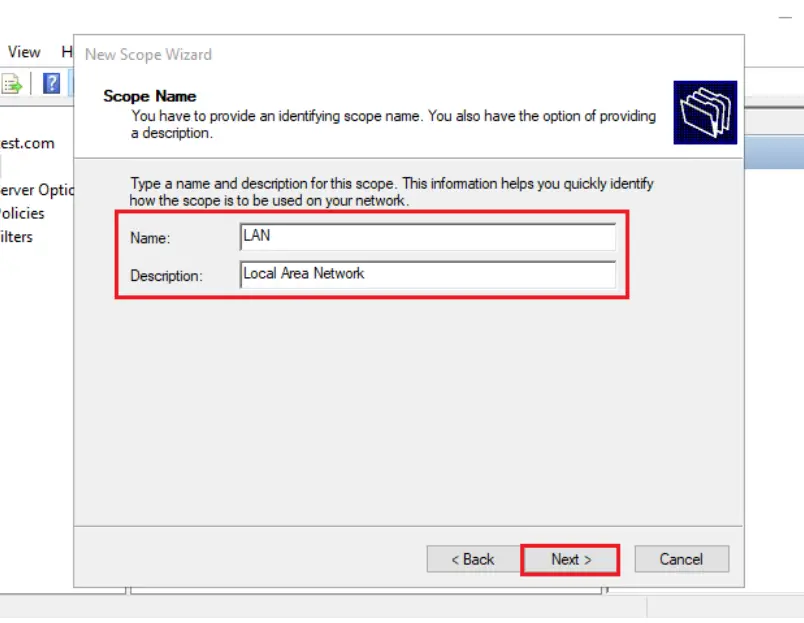
Enter the credentials and click next.
Enter the starting and ending IP address i.e range of IP address and then enter the subnet mask and click next.

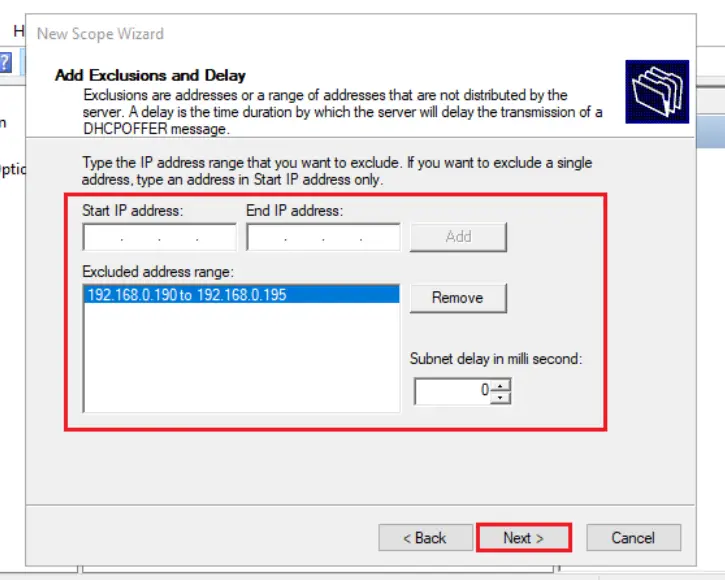
Then add exclusions and click next. Exclusions are the address that are not distributed by the server.
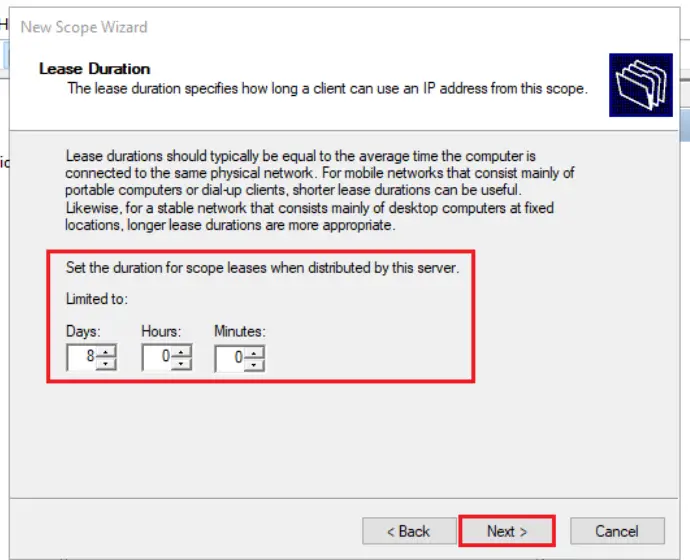
Now lease duration tab appears. Set the duration as per choice or otherwise it is set to 8 days as default. Click next.
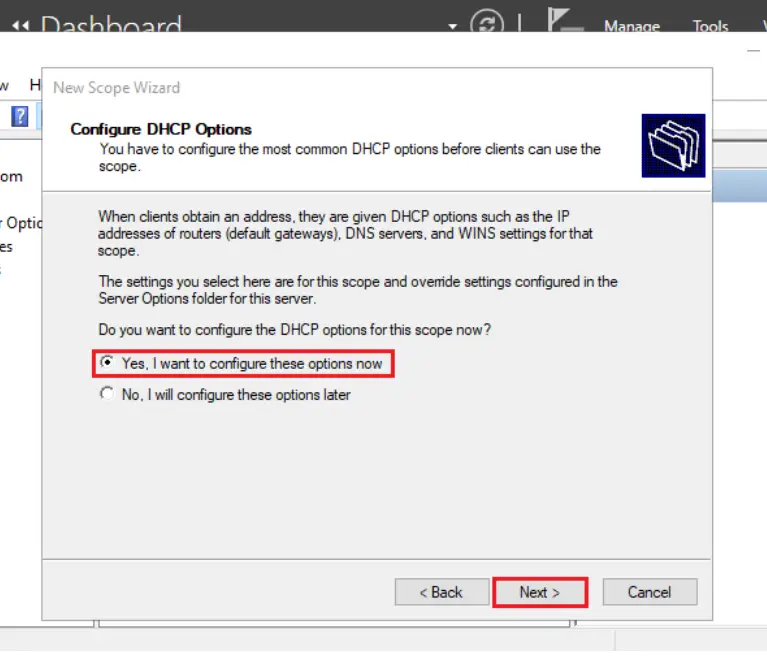
Now configure DHCP options window appears. Click on yes I want to configure the options now.
Now enter the default gateway of your router then click next.

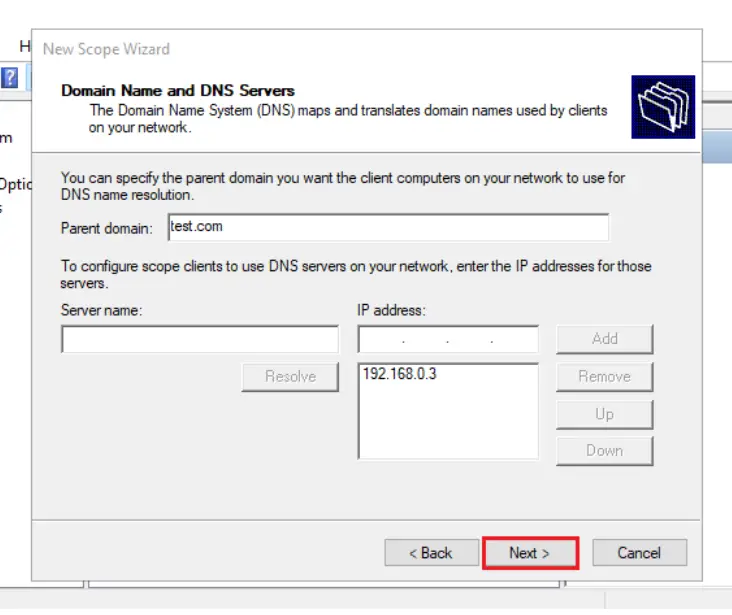
Input the Parent Domain name and DNS server of your network. In case your server is in Active Directory Domain, it is set automatically. Simply click Next.
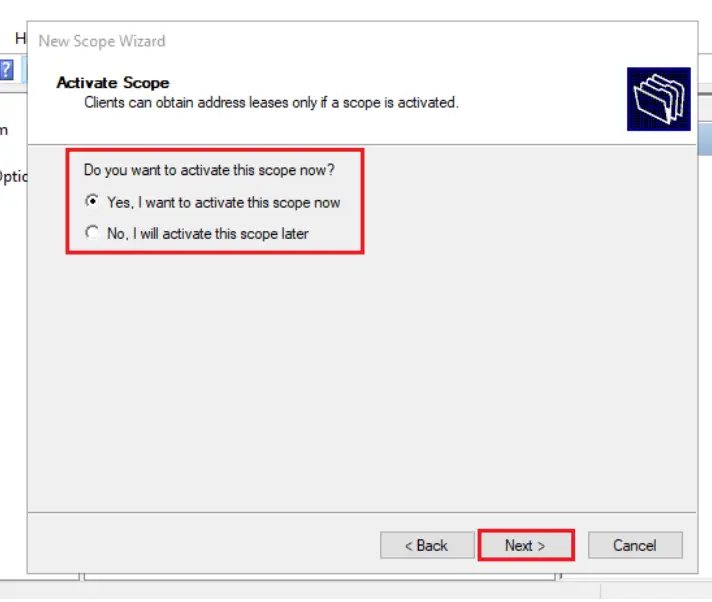
Select yes I want to activate the scope now. Click next.
In the end, click finish to end the process and close new scope wizard.
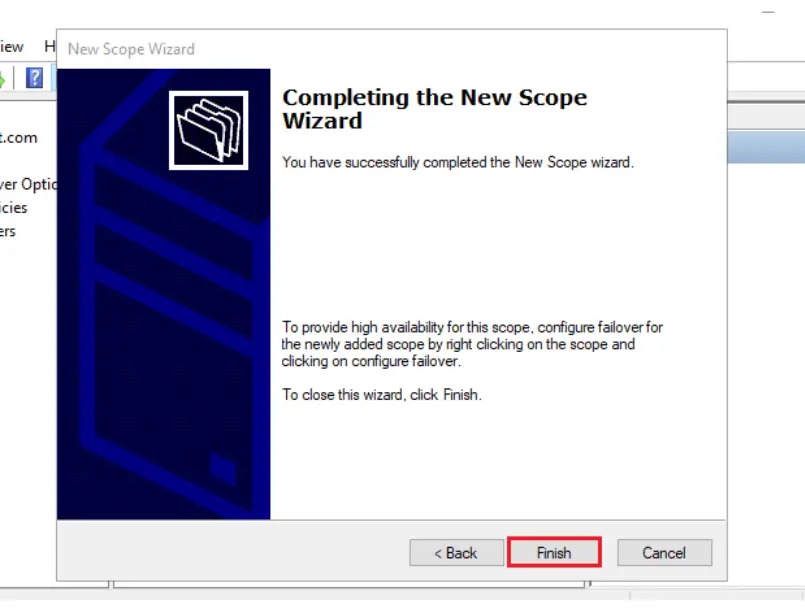
DHCP is installed and configured successfully.
Dynamic Host Configuration Protocol (DHCP) is a client/server protocol that automatically provides an Internet Protocol (IP) host with its IP address and other related configuration information such as the subnet mask and default gateway.
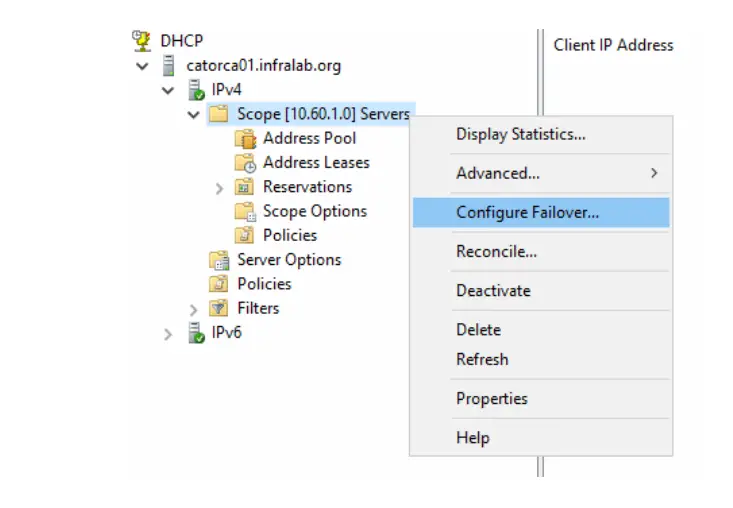
Configuring DHCP failover
Making two DHCP servers communicate with one another in order to provide redundancy and high availability is termed as DHCP failover. It can be configured by right-clicking on any existing scope and then pressing Configure Failover…
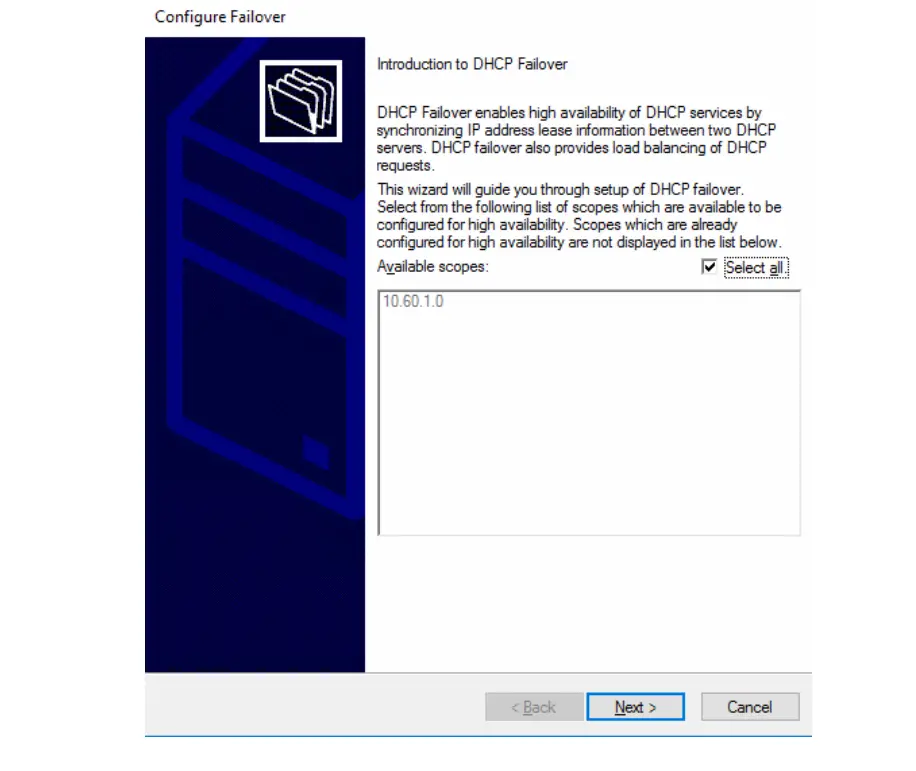
A DHCP Failover intro window appears which gives basic info. It also allows you to select any specific scope or leave it as default (select all). Then click next
In the Specify the partner server to use for the failover page, add or search for the second server that will be part of the DHCP Failover feature, and click Next
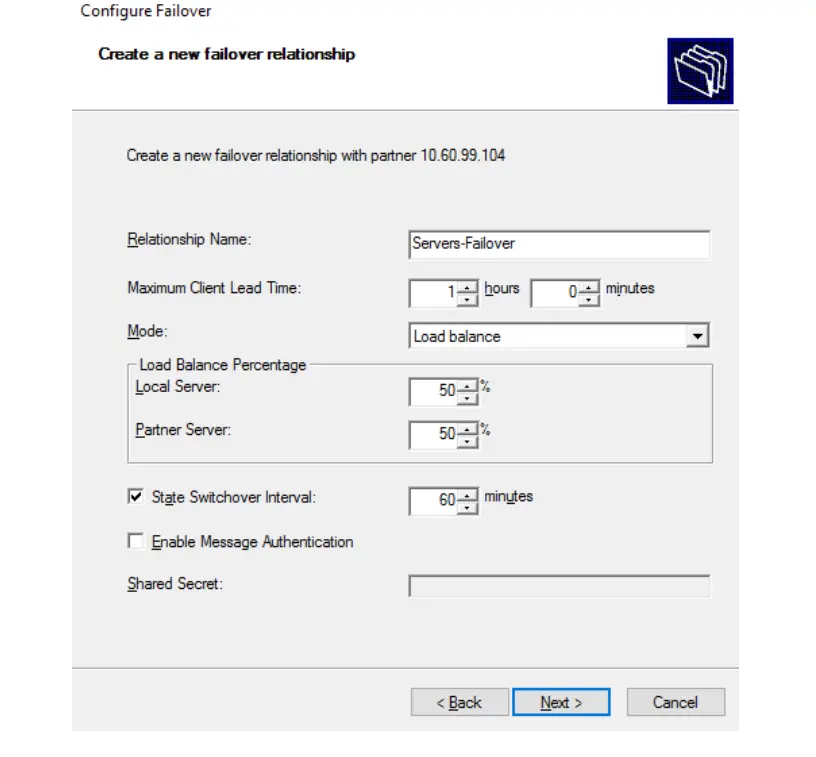
Now create a new failover relationship window pops up. It is where the focus is needed. You have defined different credentials like relationship name, max. clients, load balance, and message authentication. After this click next
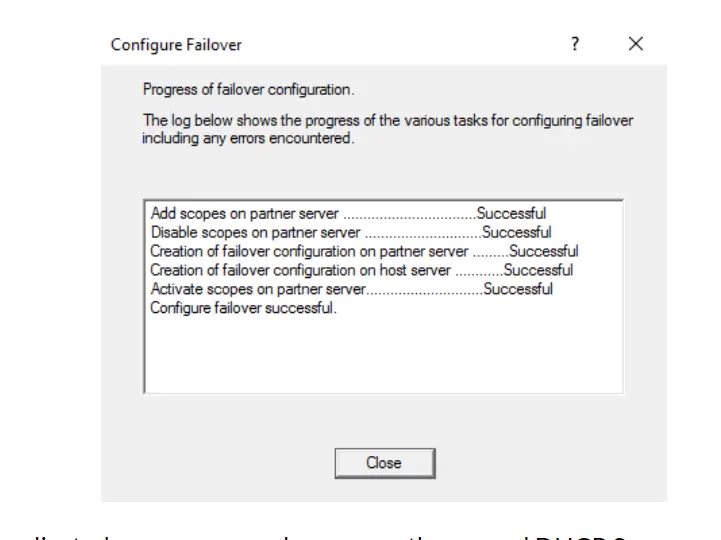
All changes that you made will be displayed. Click on Finish, and a new dialog box with the status of each task will be displayed.
You are done. On the second DHCP server could be seen the copied scope.
MAC binding in the DHCP server
Security is one of the biggest concerns in any company or organization. Static MAC binding can allow the network administrator to identify the user so that any user cannot harm the network anonymously.
The steps to configure MAC binding are as follows:
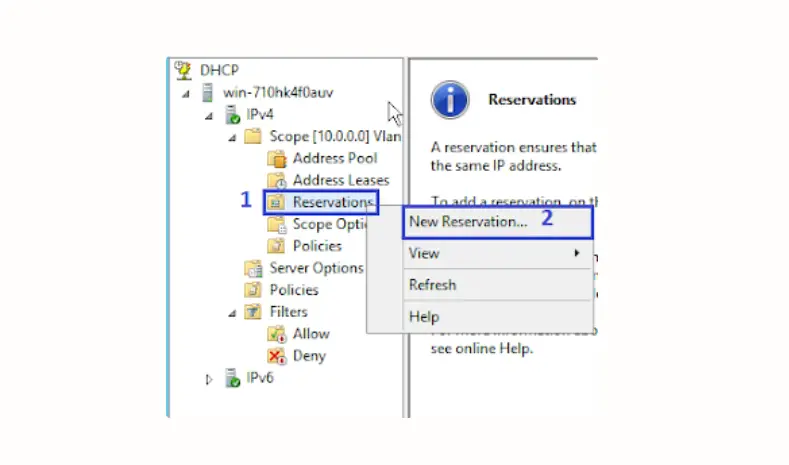
In any desired scope right click on reservations and choose new reservation.
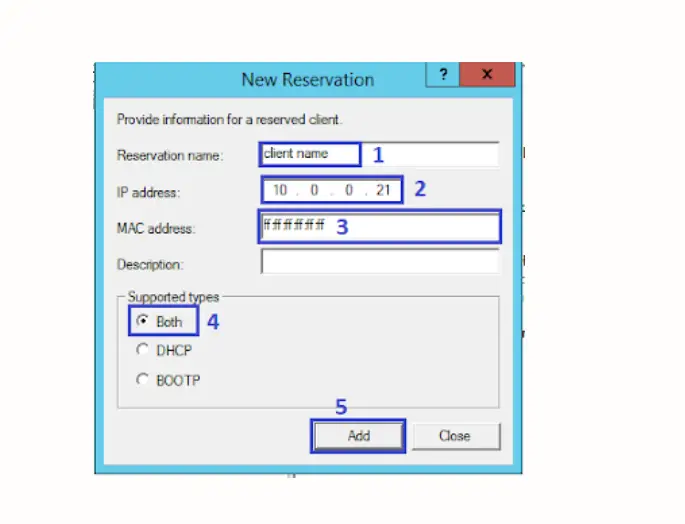
Now a window pops up. Here enter the reservation name, IP address, MAC address, and description, and in the end select supported types both. Click Add.
Your static MAC address is bonded successfully now every user is well-recognized by the network administrator.